Play Area and Restricted Areas
For each event, you can define a Play Area ("play within this boundary") and Restricted Areas within it where entry is prohibited.
When a participant exits the play area or enters a restricted area, they are alerted via vibration, sound, and notifications, while organizers can monitor their status in real time on the monitoring screen.
Unlike KML vector overlays, which merely display reference routes or purple shading on the map, this feature provides real-time boundary detection on participant devices, vibration/sound/notification alerts, push notifications to organizers, highlighted display on live maps, and recorded violation history on the results screen.
Differences Between Play Area and Restricted Area
| Item | Play Area | Restricted Area |
|---|---|---|
| Count | 0 or 1 per event | 0 or more (multiple allowed) per event |
| Detection | Alerts when exiting the designated area | Alerts when entering the designated area |
| Map display | The area outside is shaded darker | The inside of the area is shaded in purple hatching |
| Primary purpose | Defining competition boundaries, preventing disorientation | Preventing entry into private property, hazardous areas, construction zones, busy roads |
- You can also configure only restricted areas without setting an overall play area.
- Available for standard events (Straight, Score, Free) and Safety Tracking events. Not available for permanent events.
Opening the Settings Screen
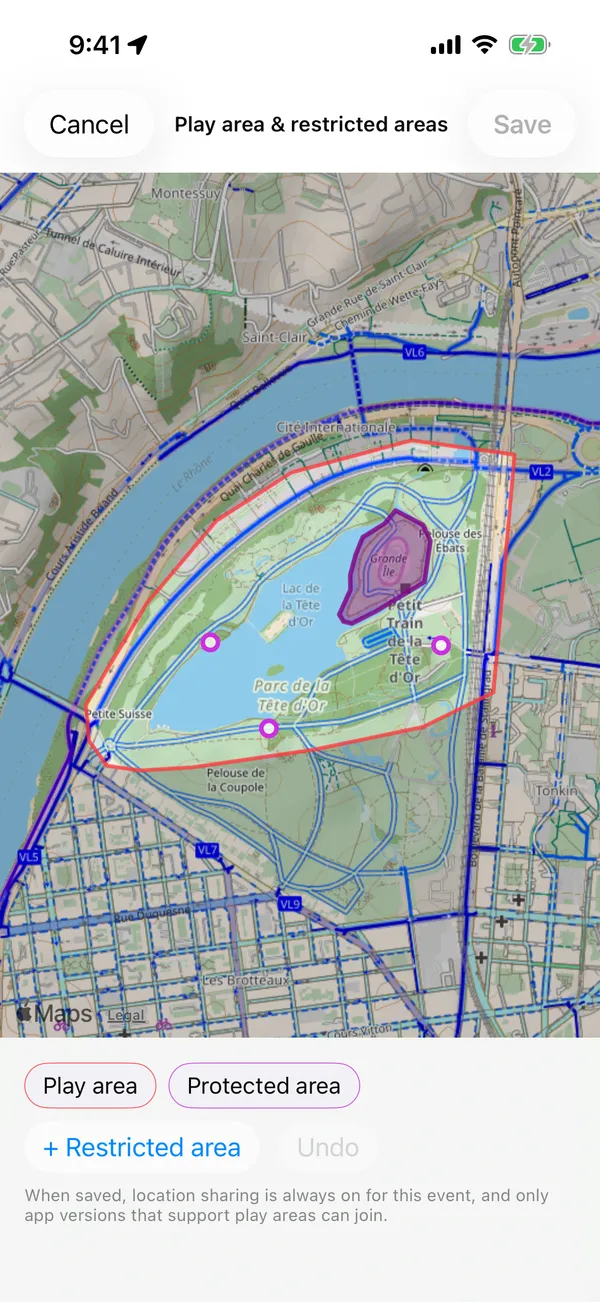
- Smartphone App
- Web
- Open the event management dashboard
- Tap the Play area & restricted areas card under the Create section
- Open the event management overview page
- Click Play Area & Restricted Areas in the top action buttons
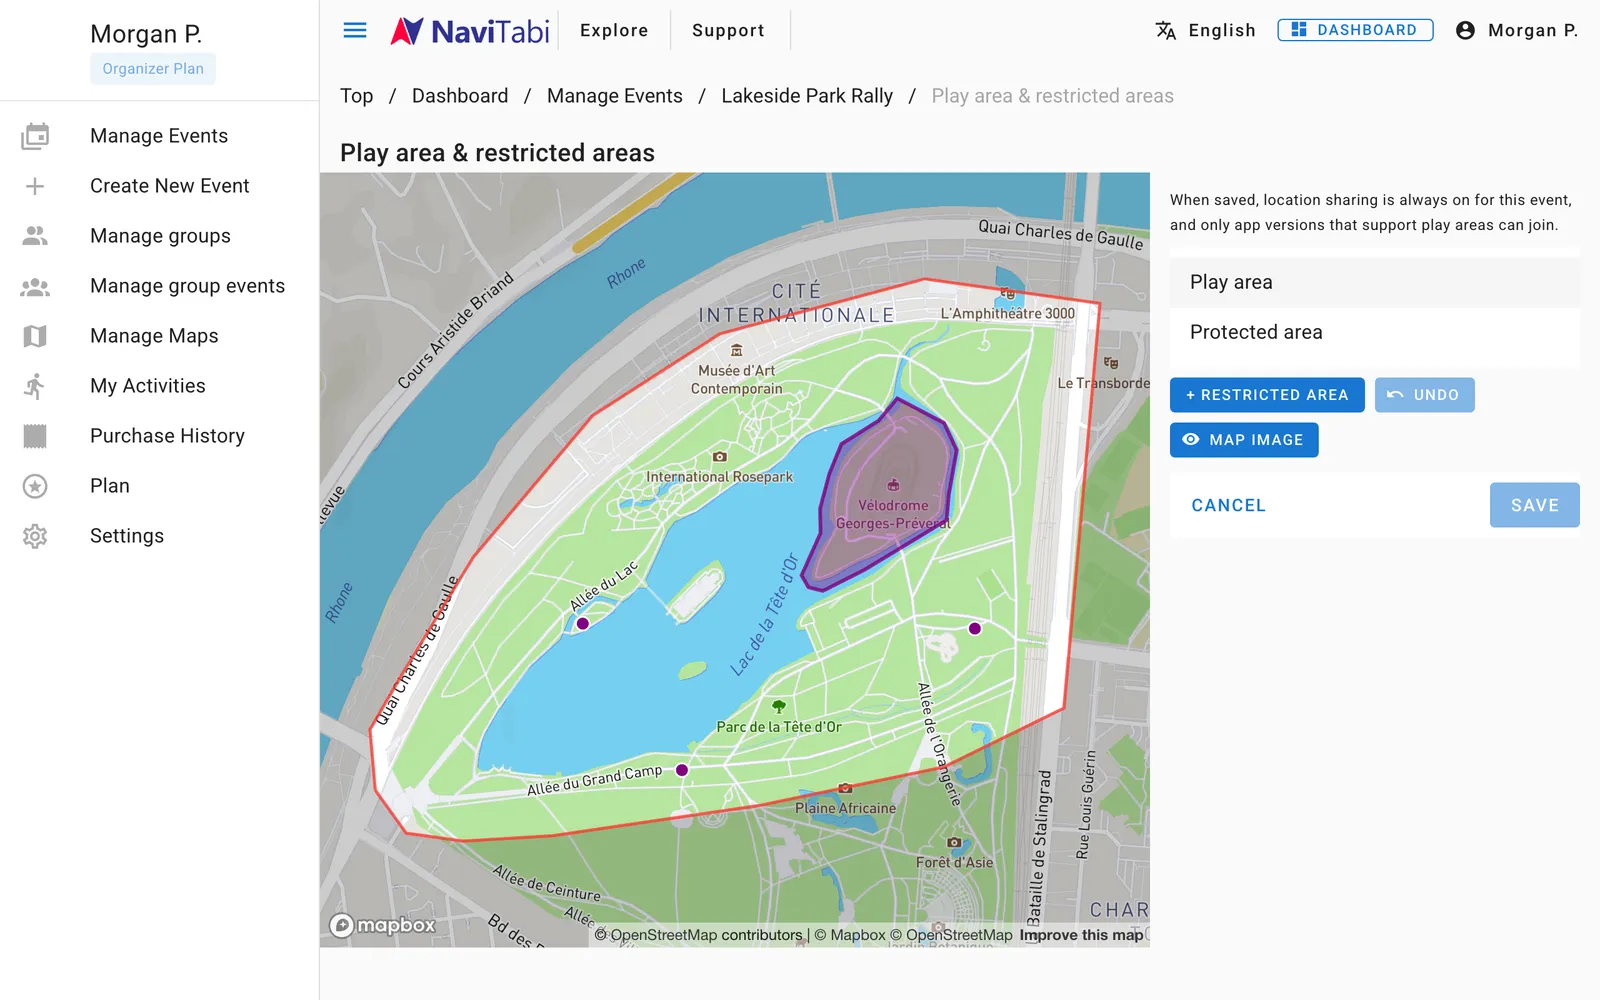
Only event managers (owner / manager) can create and edit play areas and restricted areas. For group-managed events, group managers can also edit them.
Starting from a Draft
When you open the settings screen for the first time, a draft polygon is automatically generated based on the course or map:
- When controls (spots) are placed — A polygon is automatically generated around all spots including start and finish, with approximately 300 m margin.
- When no spots exist but a custom map is registered — A polygon matching the outer boundary of the map image is generated.
- When neither spots nor custom map exist — A rectangular play area is placed based on the currently visible map region.
Using this draft as a base, adjust the vertices along actual roads and terrain.
Polygon Editing Controls
On the editing screen, you can intuitively adjust polygons directly on the map.
Selecting the Area to Edit
When multiple areas exist (play area and restricted areas, or multiple restricted areas), tap the area in the list at the bottom or tap the polygon directly on the map.
Only the selected polygon displays vertex circles at corners and "+" icons at the center of edges.
Moving, Adding, and Deleting Vertices
- Move vertex — Drag the circular vertex. On mobile apps, a magnifying loupe pops up so your finger doesn't block road intersections.
- Add vertex — Drag the "+" icon at the center of an edge to create a new vertex. Use this for detailed curves and complex boundaries.
- Delete vertex — Long-press an unneeded vertex to delete it (polygons require at least 3 vertices).
- Undo — Tap the Undo button to revert recent actions step by step.
A single polygon can have up to 100 vertices.
Adding Restricted Areas and Naming
- Tap the + Restricted Area button
- A rectangular restricted area is added to the center of the screen
- Enter a name if needed (e.g. "North Construction Site", "Private Property"). This name appears in participant warning messages, push notifications, and monitoring screens
- Drag vertices to adjust the boundary just like the play area
Unneeded restricted areas can be deleted from the list or editing menu.
Considerations When Saving Settings
When you save a play area or restricted area, the following important changes take effect for the event:
1. Participant location sharing becomes mandatory
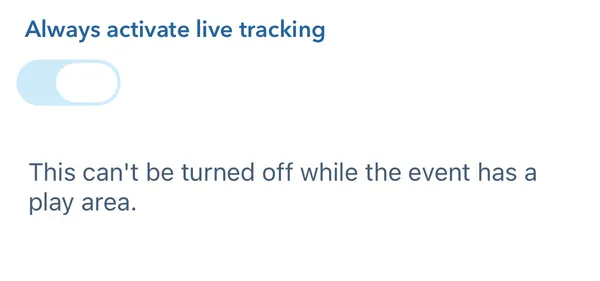
To let organizers see participants on the Live Map, setting a competition or restricted area automatically enables Always Enable Live Tracking, even for an organizer without paid features. Participants cannot start with location sharing off. Area warnings work independently of the location-sharing setting.
While any area remains, organizers cannot turn this setting off in event editing. When all areas are deleted and saved, it turns off if the organizer saving the change cannot use paid features; otherwise its current value is retained.
2. Older unsupported app versions cannot join
The event requires the play area feature. Participants using older app versions without play area support (iOS earlier than 16.2.0, or older Android builds) will see a prompt to update the app and cannot join until updated.
Please instruct participants in advance to update their NaviTabi app to the latest version.
Participant Alerts and Live Monitoring
During and after the event, the following features work automatically:
- Participant alerts — Crossing a boundary triggers prolonged vibration, warning sound, and Time Sensitive notifications, plus a red banner showing bearing and distance back to the safe zone (see Participating in Events — Play Area and Restricted Area Alerts).
- Organizer live monitoring — On live maps and safety tracking screens, violating participants show red rings and "Out"/"Restricted" badges at the top of the list with elapsed violation time. All owners, managers, and operators also receive push notifications (see Live Monitoring — Monitoring Play Area Violations).
- Violation records on results — After finishing, violation sections appear in red on participant track maps, and a violation history log (timestamp and duration) is recorded (see Results and Export — Reviewing Violation Records).